In this tutorial, we'll explain how to install JupyterHub on Ubuntu 22.04. Here we are installing The Littlest JupyterHub (TLJH).
In JupyterHub we can create a multi-user Hub that spawns, manages, and proxies multiple instances of the single-user Jupyter notebook server. JupyterHub can install on cloud or on-premise hardware. It makes possible to server a pre-configured data science environment to any user in the world.
We are installing and configuring The Littlest JupyterHub (TLJH), Conda. We'll deploy it on the domain name and install SSL certificate.
Prerequisites:
- A Ubuntu 22.04 installed dedicated server or cloud server.
- A root user access or normal user with administrative privileges (In case of normal user, please use sudo at the start of every command)
- A Domain name that pointing to the server using "A" record
Let's get started with the installation process.
Installing Jupyterhub on Ubuntu
1. Update the server
Keep the server up to date.
apt update
2. Installing Python
We need to make sure that Python3, python3-dev, curl , and git installed in the server. Execute following command to install it:
apt install python3 python3-dev git curl
3. Configuring Firewall
Before we proceed further, we need to configure the firewall (UFW) first. Let's add HTTP and HTTPS ports in the UFW firewall. Execute following command:
ufw allow 80/tcp
ufw allow 443/tcp
4. Installing JupyterHub
Finally, let's install JupyterHub using following command:
curl -L https://tljh.jupyter.org/bootstrap.py | sudo -E python3 - --admin <admin-username>:<admin-password>
Note: Replace admin-username:admin-password with your choice admin username and password. With this username, user can login into the JupyterHub with admin role. Do not forget to remove brackets.
Once, you execute the command, it may take sometime to install. Once, the installation gets completed it will say Done.
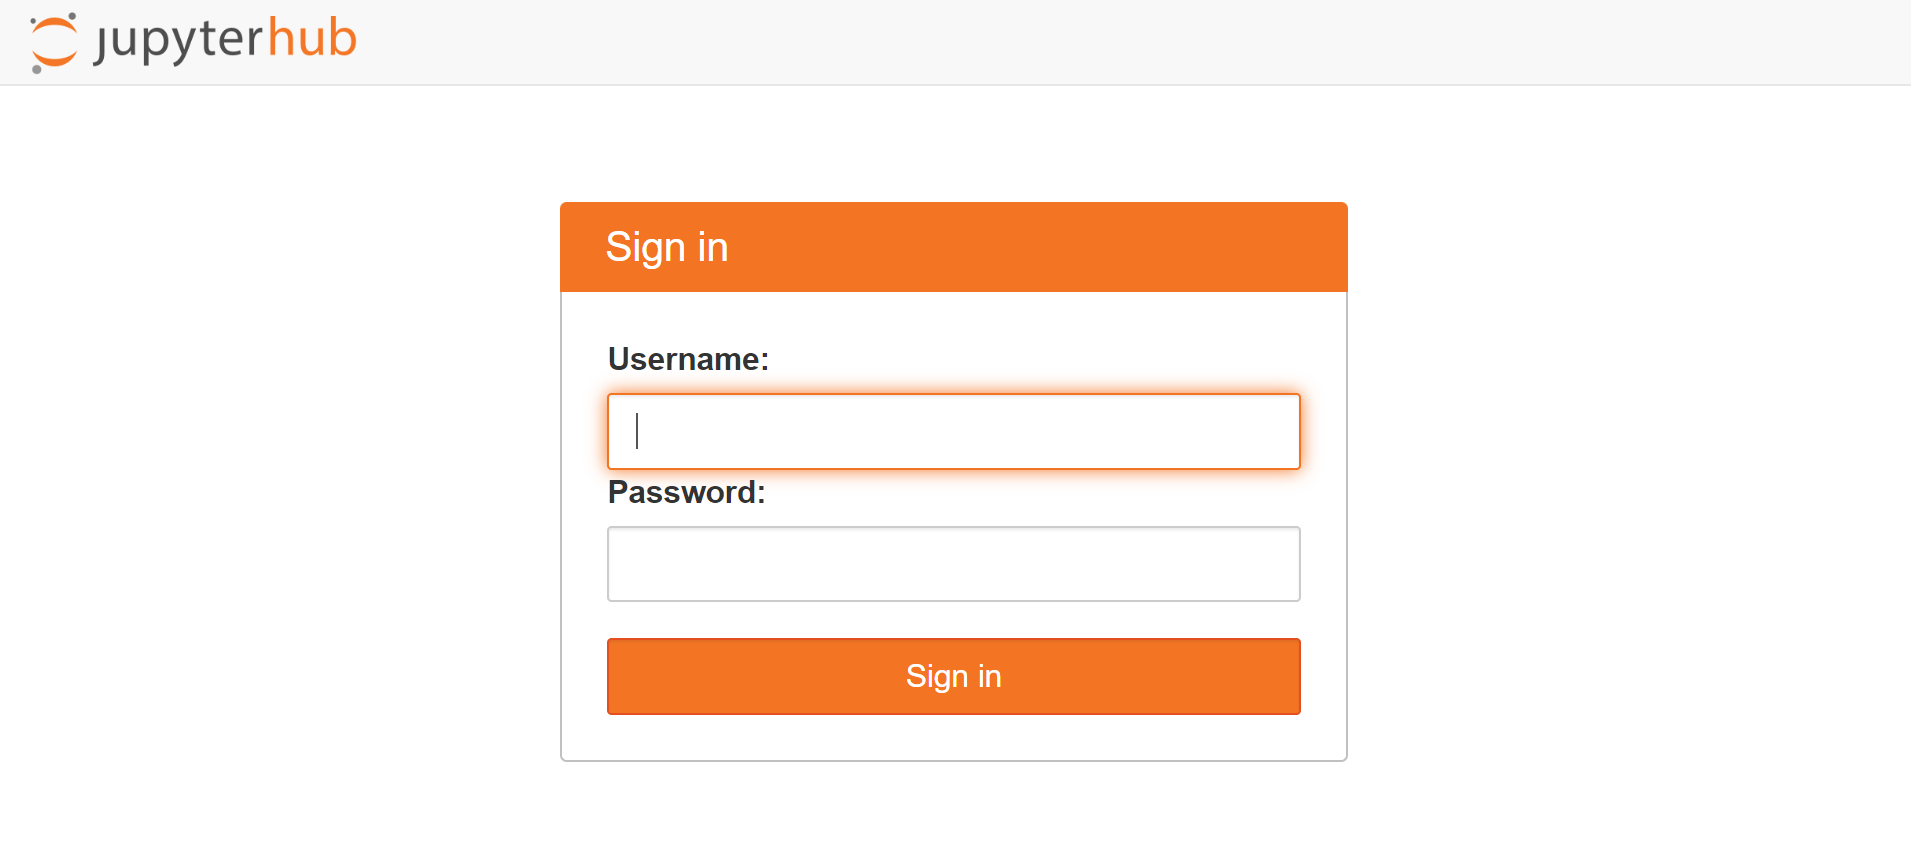
Navigate to the browser and access JupyterHub using the server IP. We'll get login page. It will display warning that enable HTTPS for JuypterHub. We'll do it in next step.
5. Enabling HTTPS
In this step, we'll enable HTTPS by installing Let's Encrypt SSL certificate. HTTPS encrypts traffic so that usernames, passwords and your data are communicated securely. sensitive bits of information are communicated securely.
It is supported by Let's Encrypt or we can install SSL certificate manually too. For this demonstration purpose, we are installing SSL using Let's Encrypt.
Remember: We must have a domain name pointing to the our server IP address on which TLJH is accessible before you can set up HTTPS.
To enable HTTPS via Let's Encrypt, execute set of following commands:
sudo tljh-config set https.enabled true
sudo tljh-config set https.letsencrypt.email [email protected]
sudo tljh-config add-item https.letsencrypt.domains yourhub.yourdomain.edu
Note:
- Replace
[email protected]with your email address. - Replace
yourhub.yourdomain.eduwith your domain name.
Once you make the changes, execute the command.
Next, to load or display this information, execute following command:
tljh-config show
The output will similar like:
https:
  enabled: true
  letsencrypt:
    email: [email protected]
    domains:
      - yourhub.yourdomain.edu
Once, we verify the infomation is correct, reload the proxy using following command:
tljh-config reload proxy
It may take sometime to install the SSL certificate, be patience. Once, it gets completed, nagivate to your browser and access the domain name. If still it is not showing SSL certificate, reboot the server and check it.

6. Installing Conda
Conda environment is shared by all users in the JupyterHub. It is a User Environment. Whenever we install library in the environment, it will immediately available to all users. Admin users can install packages in this environment with sudo -E.
Login into JupyterHub with admin user and open terminal. Once you open terminal, install gdal and conda-forge by following command:
sudo -E conda install -c conda-forge gdal
Note: sudo -E is important command. It will add it in environment.
Now, let's install there with pip using following command:
sudo -E pip install there
The packages gdal and there are now available to all users in JupyterHub.
That's it, we have successfully seen how to install JupyterHub on Ubuntu 22.04.
