

In this tutorial, we'll discuss about installing LibreNMS on Ubuntu 22.04 with Nginx and SSL certificate.
LibreNMS is a powerful open-source network monitoring system that provides comprehensive visibility into your network's performance and devices. This tutorial will guide you through the steps of installing and configuring LibreNMS on an Ubuntu 22.04 server, using Nginx as the web server.
Prerequisites
- An Ubuntu 22.04 server with a non-root user with sudo privileges.
- Basic knowledge of Linux command line.
Install LibreNMS on Ubuntu
Step 1: Update System Packages
First, ensure your system is up-to-date by running the following commands:
sudo apt update
sudo apt upgrade -y
Step 2: Install Required Dependencies
LibreNMS requires several dependencies including PHP, MariaDB, Nginx, and others. Install these dependencies with the following commands:
apt install -y acl curl fping git graphviz imagemagick mariadb-client mariadb-server mtr-tiny nginx-full nmap php-cli php-curl php-fpm php-gd php-gmp php-json php-mbstring php-mysql php-snmp php-xml php-zip rrdtool snmp snmpd unzip python3-pymysql python3-dotenv python3-redis python3-setuptools python3-systemd python3-pip whois traceroute
Step 3: Install LibreNMS
Let's start with the installation process. First we need to add a user named with librenms using following command:
useradd librenms -d /opt/librenms -M -r -s "$(which bash)"
Next, download LibreNMS from Github:
cd /opt
git clone https://github.com/librenms/librenms.git
Now, set the proper permission the directory. Execute following set of commands:
chown -R librenms:librenms /opt/librenms
chmod 771 /opt/librenms
setfacl -d -m g::rwx /opt/librenms/rrd /opt/librenms/logs /opt/librenms/bootstrap/cache/ /opt/librenms/storage/
setfacl -R -m g::rwx /opt/librenms/rrd /opt/librenms/logs /opt/librenms/bootstrap/cache/ /opt/librenms/storage/
Step 4: Configure PHP
Let's install the required PHP dependencies
su - librenms
./scripts/composer_wrapper.php install --no-dev
exit
Sometimes when there is a proxy used to gain internet access, the above script may fail. The workaround is to install the composer package manually. For a global installation:
wget https://getcomposer.org/composer-stable.phar
mv composer-stable.phar /usr/bin/composer
chmod +x /usr/bin/composer
Modify the PHP configuration to set the timezone. Open the both PHP configuration file in a text editor one by one:
nano /etc/php/8.1/fpm/php.ini
nano /etc/php/8.1/cli/php.ini
Note: Replace 8.1 PHP version with your installed PHP.
Find date.timezone and set it to Etc/UTC
date.timezone = Etc/UTC
Remember to set the system timezone as well.
timedatectl set-timezone Etc/UTC
Next, configure PHP-FPM. Here we are creating new PHP pool so that it will create sock file and we can set user and group also. It will not interpert with other application or website.
cp /etc/php/8.1/fpm/pool.d/www.conf /etc/php/8.1/fpm/pool.d/librenms.conf
nano /etc/php/8.1/fpm/pool.d/librenms.conf
Note: Replace 8.1 PHP version with your installed PHP.
Change [www] to [librenms]:
[librenms]
Change user and group to "librenms":
user = librenms
group = librenms
Change listen to a unique path that must match your webserver's config (fastcgi_pass for NGINX and SetHandler for Apache) :
listen = /run/php-fpm-librenms.sock
If there are no other PHP web applications on this server, you may remove www.conf to save some resources. Feel free to tune the performance settings in librenms.conf to meet your needs.
Restart PHP-FPM to apply the changes:
systemctl restart php8.1-fpm
Note: Replace 8.1 PHP version with your installed PHP.
Step 5: Configure the Database
Start and secure the MariaDB server:
sudo systemctl start mariadb
sudo mysql_secure_installation
During the secure installation, answer the prompts to set a root password and secure your MariaDB installation.
sudo mysql -u root
Create the database and user for LibreNMS:
CREATE DATABASE librenms CHARACTER SET utf8 COLLATE utf8_unicode_ci;
CREATE USER 'librenms'@'localhost' IDENTIFIED BY 'strong_password';
GRANT ALL PRIVILEGES ON librenms.* TO 'librenms'@'localhost';
FLUSH PRIVILEGES;
EXIT;
Note: Replace 'strong_password' with a secure password.
Step 6: Configure Nginx
Create an Nginx configuration file for LibreNMS:
sudo nano /etc/nginx/sites-available/librenms.conf
Add the following configuration:
server {
 listen      80;
 server_name librenms.example.com;
 root        /opt/librenms/html;
 index       index.php;

 charset utf-8;
 gzip on;
 gzip_types text/css application/javascript text/javascript application/x-javascript image/svg+xml text/plain text/xsd text/xsl text/xml image/x-icon;
 location / {
  try_files $uri $uri/ /index.php?$query_string;
 }
 location ~ [^/]\.php(/|$) {
  fastcgi_pass unix:/run/php-fpm-librenms.sock;
  fastcgi_split_path_info ^(.+\.php)(/.+)$;
  include fastcgi.conf;
 }
 location ~ /\.(?!well-known).* {
  deny all;
 }
}
Note: Replace librenms.example.com with your server's domain name or IP address.
Enable the site and restart Nginx:
sudo ln -s /etc/nginx/sites-available/librenms.conf /etc/nginx/sites-enabled/
sudo systemctl restart nginx
Step 7: Securing Your Installation with SSL
First add HTTP and HTTPS ports in firewall (If applicable)
ufw allow 80/tcp
ufw allow 443/tcp
ufw reload
Next, it is recommended to set up SSL to secure your LibreNMS installation. You can use Let's Encrypt to obtain a free SSL certificate.
Install Certbot:
sudo apt install certbot python3-certbot-nginx -y
Obtain and install the certificate:
sudo certbot --nginx -d <Your_Domain>
Follow the prompts to complete the SSL installation.
Step 8: Enable lnms command completion
This feature grants you the opportunity to use tab for completion on lnms commands as you would for normal linux commands.
ln -s /opt/librenms/lnms /usr/bin/lnms
cp /opt/librenms/misc/lnms-completion.bash /etc/bash_completion.d/
Step 9: Configure SNMP
Modify the SNMP configuration file:
sudo cp /opt/librenms/snmpd.conf.example /etc/snmp/snmpd.conf
sudo nano /etc/snmp/snmpd.conf
Replace RANDOMSTRINGGOESHERE with a community string of your choice. Adjust syslocation and syscontact as necessary.
Restart the SNMP daemon:
curl -o /usr/bin/distro https://raw.githubusercontent.com/librenms/librenms-agent/master/snmp/distro
chmod +x /usr/bin/distro
systemctl enable snmpd
systemctl restart snmpd
step 10: Setup Cron job and logrotate
LibreNMS requires several cron jobs to perform various tasks. Add these cron jobs by creating a new cron file:
cp /opt/librenms/dist/librenms.cron /etc/cron.d/librenms
Now, enable the scheduler
cp /opt/librenms/dist/librenms-scheduler.service /opt/librenms/dist/librenms-scheduler.timer /etc/systemd/system/
systemctl enable librenms-scheduler.timer
systemctl start librenms-scheduler.timer
Configure log rotation for LibreNMS logs: Copy logrotate config
LibreNMS keeps logs in /opt/librenms/logs. Over time these can become large and be rotated out. To rotate out the old logs you can use the provided logrotate config file:
cp /opt/librenms/misc/librenms.logrotate /etc/logrotate.d/librenms
Step 11: Finalize LibreNMS Installation
Navigate to the LibreNMS web installer by visiting http://your_domain/install.php in your web browser.
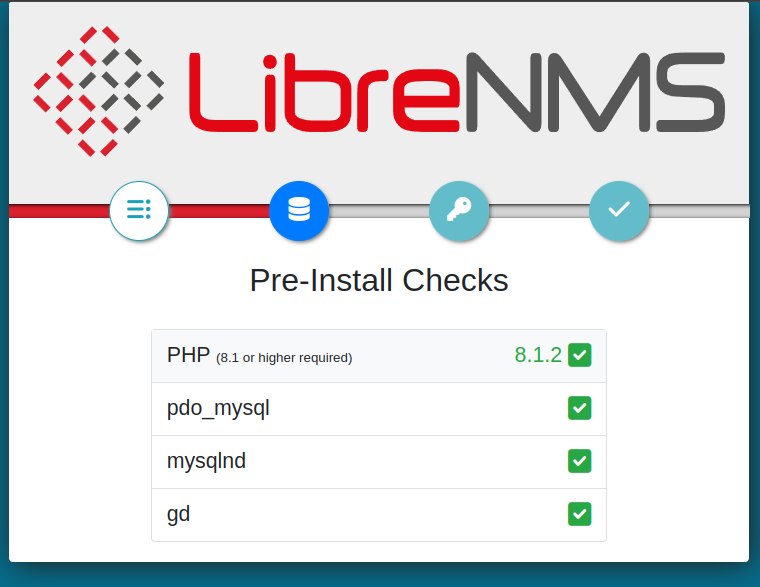
Follow the web-based setup instructions:
- Database Connection: Enter the database details you created earlier.
- Create Admin User: Set up the admin user for LibreNMS.
- Complete Installation: Follow the remaining prompts to complete the installation.
Conclusion
We have discussed about installting LibreNMS on Ubuntu 22.04 with Nginx and SSL certificate. This powerful network monitoring tool will help you keep track of your network devices and performance. For further customization and advanced features, refer to the LibreNMS documentation.