

In this tutorial, we'll explain how to install Metabase on Ubuntu 24.04. A Guide on Installing Metabase on Ubuntu for Interactive Data Analysis and Visualization and Nginx as web server and securing with Let's Encrypt Certbot SSL certificated.
Metabase is an open-source business intelligence tool that makes it easy to generate charts, dashboards, and other data visualizations. This guide will walk you through installing Metabase on an Ubuntu server, ensuring you can set up an interactive data analysis environment.
Prerequisites
- An Ubuntu server with a non-root user with sudo privileges.
- Java Development Kit (JDK) installed.
- PostgreSQL or MySQL database (optional, but recommended for production use).
Note: We have not enabled SELinux in this tutorial.
Install Metabase on Ubuntu
Step 1: Update Your System
First, ensure your system is up-to-date by running the following commands:
sudo apt update
sudo apt upgrade
Step 2: Install Java
Metabase requires Java to run. Install the OpenJDK package with:
sudo apt install openjdk-17-jdk -y
Verify the installation:
java -version
You should see output similar to:
openjdk version "17.0.11" 2024-04-16
OpenJDK Runtime Environment (build 17.0.11+9-Ubuntu-1)
OpenJDK 64-Bit Server VM (build 17.0.11+9-Ubuntu-1, mixed mode, sharing)
Step 3: Download and Install Metabase
Navigate to the Metabase download page and copy the link to the latest release. Download the Metabase jar file with wget:
wget https://downloads.metabase.com/v0.50.8/metabase.jar
Move the jar file to /opt/metabase and create the directory if it doesn't exist:
sudo mkdir /opt/metabase
sudo mv metabase.jar /opt/metabase/
Step 4: Create a Service File for Metabase
To manage Metabase with systemd, create a service file:
sudo nano /etc/systemd/system/metabase.service
Add the following content:
[Unit]
Description=Metabase server
After=syslog.target
After=network.target

[Service]
WorkingDirectory=/opt/metabase
ExecStart=/usr/bin/java -jar /opt/metabase/metabase.jar
User=metabase
Type=simple
Restart=always
StandardOutput=syslog
StandardError=syslog
SyslogIdentifier=metabase

[Install]
WantedBy=multi-user.target
Save and close the file.
Create a Metabase User.
Create a dedicated user for running Metabase:
sudo useradd -r -s /bin/false metabase
sudo chown -R metabase: /opt/metabase
Step 5: Start and Enable the Metabase Service
Reload systemd to recognize the new service:
sudo systemctl daemon-reload
Start the Metabase service:
sudo systemctl start metabase
Enable the Metabase service to start on boot:
sudo systemctl enable metabase
Check the service status to ensure it's running correctly:
sudo systemctl status metabase
Step 6: Configuring PostgreSQL
Now, let's install PostgreSQL. Execute following command:
sudo apt install postgresql postgresql-contrib
Ensure the PostgreSQL service is running:
sudo systemctl status postgresql
Create database and user in PostgreSQL
Switch to the PostgreSQL user:
sudo -i -u postgres
Access the PostgreSQL prompt:
psql
Create a new database for Metabase:
CREATE DATABASE metabase;
Create a new user for Metabase with a secure password:
CREATE USER metabaseuser WITH ENCRYPTED PASSWORD 'secure_password';
Grant the user access to the Metabase database:
GRANT ALL PRIVILEGES ON DATABASE metabase TO metabaseuser;
Exit the PostgreSQL prompt:
\q
Exit the PostgreSQL user shell:
exit
Step 7: Configuring Firewall
We need to add HTTP and HTTPS in the firewall. Follow these steps, if you have enabled firewall.
ufw allow 80/tcp
ufw allow 443/tcp
ufw reload
Step 8: Secure Your Metabase Installation
For production environments, securing Metabase with a reverse proxy and SSL is recommended. You can use Nginx for this purpose.
Install Nginx:
sudo apt install nginx
Configure Nginx:
sudo nano /etc/nginx/sites-available/metabase.example.com
Note: Replace metabase.example.com with your domain name.
Add the following content:
server {
    listen 80;
    server_name metabase.example.com;

    location / {
        proxy_pass http://localhost:3000;
        proxy_set_header Host $host;
        proxy_set_header X-Real-IP $remote_addr;
        proxy_set_header X-Forwarded-For $proxy_add_x_forwarded_for;
        proxy_set_header X-Forwarded-Proto $scheme;
    }
}
Note: Replace metabase.example.com with your domain name.
Enable the configuration:
sudo ln -s /etc/nginx/sites-available/metabase.example.com /etc/nginx/sites-enabled/
Test and restart the Nginx service using following command:
sudo nginx -t
sudo systemctl restart nginx
Obtain SSL certificates using Let's Encrypt:
sudo apt install certbot python3-certbot-nginx
sudo certbot --nginx -d metabase.example.com
Note: Replace metabase.example.com with your domain name.
Step 9: Access Metabase
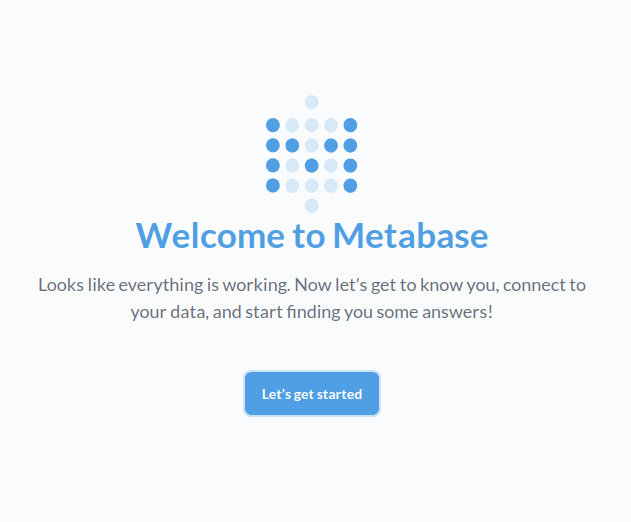
Metabase runs on port 3000 by default. Open a web browser and navigate to https://metabase.example.com. You will be greeted by the Metabase setup wizard. Follow the prompts to set up your initial user and connect to your database.
Troubleshooting
If you are getting Nginx 502 Bad Gateway error, check the status of Metabase service using following command:
sudo systemctl status metabase
If the service is inactive, restart the service using following command:
sudo systemctl restart metabase
and wait for sometime, it will start the service. It might take sometime to start. To check the log, execute following command:
sudo journalctl -u metabase
Conclusion
You have have seen how to install Metabase on your Ubuntu 24.04 server. You can now start creating dashboards and visualizations to explore your data interactively. For more advanced configurations and features, refer to the Metabase documentation.