

In this tutorial, we will explain how to install and configure Zabbix on Ubuntu 24.04. We will use PostgreSQL as the database backend and Nginx as the web server and secure with Let's Encrypt SSL certificate.
Zabbix is an open-source network monitoring and management solution designed to monitor the performance and availability of networks, servers, applications, and services. With its robust feature set, Zabbix offers real-time monitoring, alerting, and visualization of metrics, providing insights into the health and performance of IT infrastructure.
It supports various data gathering methods, including agent-based and agentless monitoring, SNMP, IPMI, and custom scripts, making it highly adaptable to diverse environments.
Install and Configure Zabbix on Ubuntu
Prerequisites:
Before starting, ensure you have:
- A fresh installation of Ubuntu 24.04 dedicated server and KVM VPS with sudo privileges.
- A static IP address configured on your server.
Step 1: Update Your System
Begin by updating your package list and upgrading the installed packages:
sudo apt update
sudo apt upgrade -y
Step 2: Install PostgreSQL
Install PostgreSQL, which will be used as the database for Zabbix:
sudo apt install postgresql postgresql-contrib -y
After installation, create a PostgreSQL user and database for Zabbix:
sudo -u postgres psql
Within the PostgreSQL shell, execute the following commands:
CREATE USER zabbix WITH PASSWORD 'your_password';
CREATE DATABASE zabbix OWNER zabbix;
\q
Replace your_password with a strong password for the Zabbix database user.
Step 3: Install Nginx
Install Nginx to serve the Zabbix web interface:
sudo apt install nginx -y
Start and enable Nginx to start at boot:
sudo systemctl start nginx
sudo systemctl enable nginx
Step 4: Install Zabbix Server, Web Frontend, and Agent
Install the Zabbix repository configuration package:
wget https://repo.zabbix.com/zabbix/6.0/ubuntu/pool/main/z/zabbix-release/zabbix-release_6.0-6+ubuntu24.04_all.deb
sudo dpkg -i zabbix-release_6.0-6+ubuntu24.04_all.deb
sudo apt update
Install the Zabbix server, web frontend, and agent:
sudo apt install zabbix-server-pgsql zabbix-frontend-php php8.3-pgsql zabbix-nginx-conf zabbix-sql-scripts zabbix-agent -y
Step 5: Configure PostgreSQL for Zabbix
Import the initial schema and data for Zabbix:
zcat /usr/share/zabbix-sql-scripts/postgresql/server.sql.gz | sudo -u zabbix psql zabbix
Now, let's configure Zabbix Server. Edit the Zabbix server configuration file to use PostgreSQL:
sudo nano /etc/zabbix/zabbix_server.conf
Update the following parameters:
DBName=zabbix
DBUser=zabbix
DBPassword=your_password
Save and close the file.
Step 6: Configure PHP for Zabbix Frontend
Edit the PHP configuration file for Zabbix:
sudo nano /etc/zabbix/nginx.conf
Modify the listen and server_name directives to match your server's configuration. Ensure the following settings are correctly configured:
server {
    listen 80;
    server_name zabbix.example.com;
    ...
}
Note: Replace zabbiz.example.com with your domain name
Save and close the file.
Start and enable the Zabbix server and agent to start at boot:
sudo systemctl start zabbix-server zabbix-agent nginx php8.3-fpm
sudo systemctl enable zabbix-server zabbix-agent nginx php8.3-fpm
Step 7: Secure with SSL
Certbot is a tool for automatically obtaining and renewing SSL certificates from Let's Encrypt. Install Certbot and the Nginx plugin:
sudo apt install certbot python3-certbot-nginx -y
Use Certbot to obtain a certificate for your domain. Replace zabbix.example.com with your actual domain name:
sudo certbot --nginx -d zabbix.example.com
Follow the prompts to choose the appropriate domain(s) and agree to the terms of service. Certbot will automatically configure Nginx to use the obtained certificate.
If you have a firewall enabled on your server, allow HTTPS traffic (port 443):
sudo ufw allow http
sudo ufw allow https
sudo ufw reload
Step 8: Configure Zabbix Frontend
Open a web browser and navigate to http://zabbix.example.com/zabbix. Follow the on-screen instructions to complete the Zabbix installation:
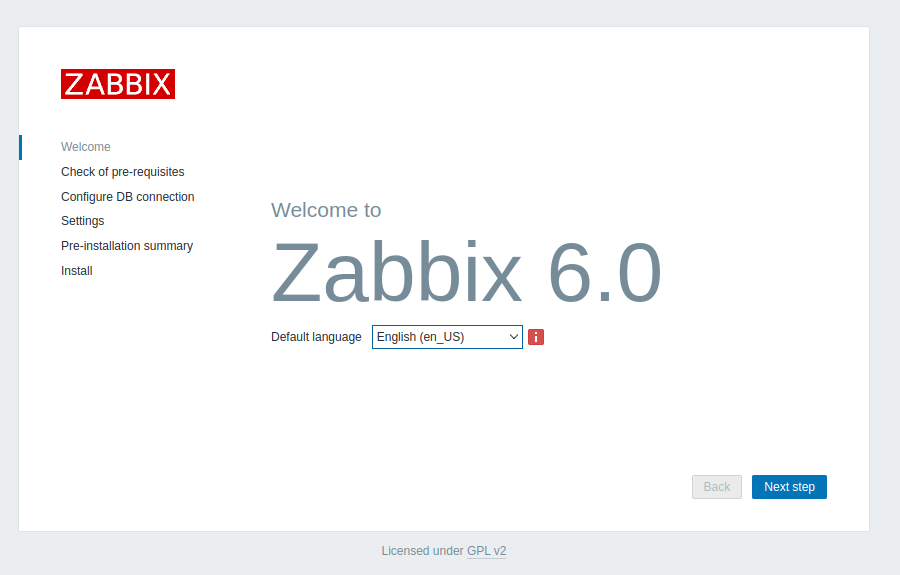
- Select your language and click "Next".
- Check for pre-requisites and click "Next".
- Configure the database connection:
- Database type: PostgreSQL
- Database host: localhost
- Database name: zabbix
- User: zabbix
- Password: your_password
Continue with the installation steps, setting up the server details and finishing the setup.
Step 9: Log In to Zabbix
Once the setup is complete, log in to the Zabbix frontend with the default credentials:
Username: Admin
Password: zabbix
Conclusion:
We have seen how to install and configure Zabbix on Ubuntu 24.04 using PostgreSQL and Nginx and secured with Let's Encrypt SSL certificate. You can now use Zabbix to monitor your network performance and availability. Make sure to secure your Zabbix installation by changing default passwords and configuring proper firewall rules.