

In this article, we'll explain how to install Gatsby Cli Deploy Project on AlmaLinux 9.
Gatsby is a React-based open-source framework for creating websites and apps. Gatsby enables developers to build fast, secure, and powerful that makes integrating different content, APIs, and services into one web experience incredibly simple.
Build sites with the services you want, like Shopify, Stripe, and WordPress, quickly and easily with Gatsby’s 2000+ plugins. Integrate data from anywhere: APIs, databases, CMSs, static files -- or multiple sources at once.
This article will guide you with the installation process and deploying default starter Gatsby site.
Prerequisites:
- A AlmaLinux 9 installed dedicated server or KVM VPS.
- A root user or normal user with sudo privileges.
Install Gatsby Cli Deploy Project on AlmaLinux 9
Step 1 – Keep the server up to date
sudo dnf update -y
Step 2 - Install required package
We need to install git to proceed further. Gatsby use git command to clone starter files. Execute following command to install git:
sudo dnf install git -y
Step 3 – Install Node.js and NPM
List available Node.js streams. Stream corresponds to the major version of Node.js. To see a list of available streams, use following command:
dnf module list nodejs
For this demonstration purpose, we're installing Node.js 18 using following command:
sudo dnf module install nodejs:18
Verify the installation is successful.
node -v && npm -v
Output:
v18.14.2
9.5.0
Step 4 – Install gatsby-cli
The Gatsby CLI (gatsby-cli) is packaged as an executable that can be used globally. The Gatsby CLI is available via npm. Run following command to install gatsby-cli:
sudo npm install -g gatsby-cli
Verify the installation:
gatsby --version
Output:
Gatsby CLI version: 5.9.0
Step 5 – Deploy new site
To generate new Gatsby site, run following command:
gatsby new
The CLI will run an interactive shell asking for these options before creating a Gatsby site for you. Above command will ask few questions about the project.
What would you like to call your site?
✔ · My Gatsby Site
What would you like to name the folder where your site will be created?
✔ user/ my-gatsby-site
✔ Will you be using JavaScript or TypeScript?
✔ Will you be using a CMS?
✔ Would you like to install a styling system?
You can select the option as per your requirements and type "y" to proceed further.
It will create project directory with the provided name.
For more information about the Gatsby CLI, you can refer official documentation.
Clone a starter directly
You can also skip the prompt and clone a starter directly from GitHub. For example, to clone a new gatsby-starter-blog. To clone a starter, execute following command:
gatsby new my-new-blog https://github.com/gatsbyjs/gatsby-starter-blog
It will clone as well as install required packages.
Develop
Once you’ve installed a Gatsby site, go to the root directory of your project and start the development server using following command:
cd my-new-blog

gatsby develop -H 0.0.0.0
Options:
-H, –host Set host. Defaults to localhost
-p, –port Set port. Defaults to env.PORT or 8000
-o, –open Open the site in your (default) browser for you
-S, –https Use HTTPS
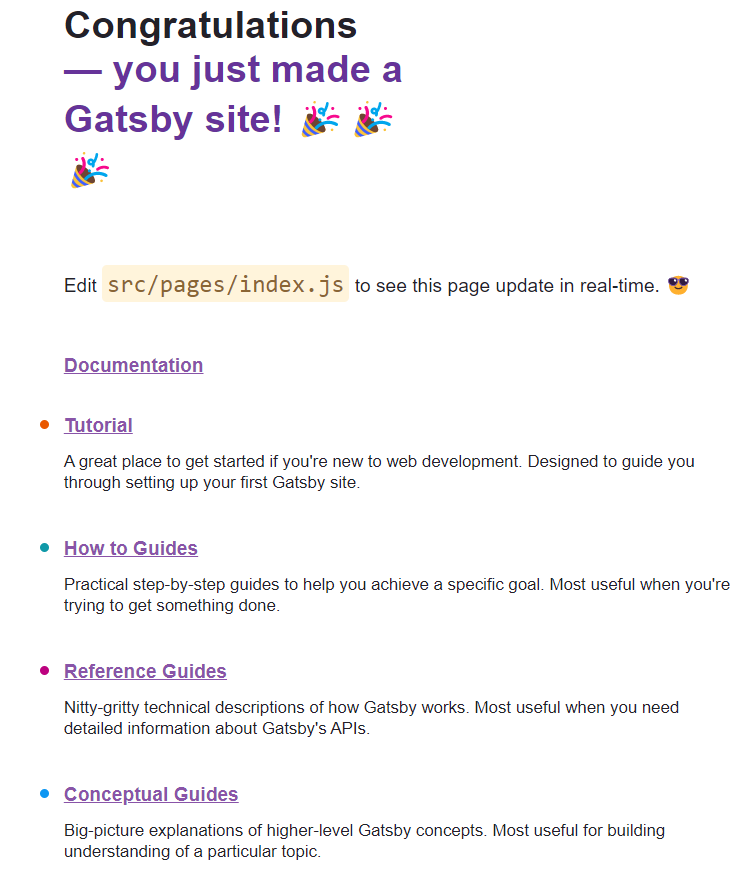
You can now view my-new-blog in the browser.
Local: http://localhost:8000/
On Your Network: http://192.168.0.102:8000/
Build
At the root of a Gatsby site, compile your application and make it ready for deployment:
gatsby build
Options:
--prefix-paths : Build site with link paths prefixed (set pathPrefix in your config)
--no-uglify : Build site without uglifying JS bundles (for debugging)
--profile : Build site with react profiling. See Profiling Site Performance with React Profiler
--open-tracing-config-file : Tracer configuration file (OpenTracing compatible). See Performance Tracing
--graphql-tracing : Trace (see above) every graphql resolver, may have performance implications.
--no-color, –no-colors : Disables colored terminal output
serve
Serves the production build of your site for testing prior to deployment. Should be run from the root of your project.
gatsby serve
Options:
-H, --host    Set host. Defaults to localhost
-p, --port    Set port. Defaults to 9000
-o, --open    Open the site in your default browser for you
--prefix-paths    Serve site with link paths prefixed (if built with pathPrefix in your gatsby-config file).
That’s it. The installation has been completed successfully. We have seen how to install Gatsby Cli Deploy Project on AlmaLinux.