

In this tutorial, we'll explain how to install iRedMail with PostgreSQL, Certbot. we'll walk you through the step-by-step process of installing and configuring iRedMail, a powerful open-source mail server solution. Learn how to enhance database performance by integrating PostgreSQL, ensuring optimal efficiency and scalability for your email system.
With iRedMail, we have all personal data on your own hard disk, you can control the email security, inspect transaction log. No other organization can see the content of all messages.
End users are forced to use mail services through secure connections (POP3/IMAP/SMTP over TLS, webmail with HTTPS). Emails are encrypted in transit using TLS if possible. Passwords are stored in SSHA512 or BCRYPT.
Prerequisites:
- A Ubuntu 22.04 installed dedicated server.
- Set a fully qualified domain name (FQDN) hostname on your server.
- Port 25 is required by mail server but many ISPs block it by default.
- Root user or normal user with administrative privileges(Use sudo before every command)
Let's get started with the installation process.
Install iRedMail with PostgreSQL, Certbot
1. Update the server
First, we need to update the server for latest repository updates.
apt update
2. Install dependencies
Next, let's install the dependencies using following command:
apt-get install -y gzip dialog
3. Download and start the iRedMail installer
First, let's download the stable verion of iRedMail. Visit Download page to get the latest stable release of iRedMail
wget https://github.com/iredmail/iRedMail/archive/refs/tags/1.6.8.tar.gz
Now, execute following command to extract the tar.gz file:
tar zxf 1.6.8.tar.gz
Now, change the current working directory to extracted directory
cd iRedMail-1.6.8
Finally, start iRedMail installer
bash iRedMail.sh
The installer will ask you bunch of questions, like:
- `Default mail storage path`: Keep it default
/var/vmail. - `Preferred web server`: Select
Nginx. - `Choose preferred backend used to store mail accounts`:
Select PostgreSQL. - `Password for PostgreSQL administrator`: Use strong password without any special characters.
- `Your first mail domain name`: Here you add any domain you wish to add. You can set main domain as well as subdomain like
red.example.comorexample.com. You need to have added A record for that domain first. - `Adminstrator password`: Set strong password for admin user. Default the username is
[email protected]. - `Optional components`: Keep default selected unless you want to use
SOGo.
That's it, once you answer all, it will ask to review the filled data, type 'y' to continue.
*************************************************************************
***************************** WARNING ***********************************
*************************************************************************
*                                                                       *
* Below file contains sensitive infomation (username/password), please  *
* do remember to *MOVE* it to a safe place after installation.          *
*                                                                       *
*   * /root/iRedMail-1.6.8/config
*                                                                       *
*************************************************************************
********************** Review your settings *****************************
*************************************************************************

* Storage base directory:               /var/vmail
* Mailboxes:
* Daily backup of SQL/LDAP databases:
* Store mail accounts in:               PostgreSQL
* Web server:                           Nginx
* First mail domain name:               example.com
* Mail domain admin:                    [email protected]
* Additional components:                Roundcubemail netdata iRedAdmin Fail2ban

< Question > Continue? [y|N
Once, it gets install, you will receive following similar output:
********************************************************************
* Congratulations, mail server setup completed successfully. Please
* read below file for more information:
*
*   - /root/iRedMail-1.6.8/iRedMail.tips
*
* And it's sent to your mail account [email protected].
*
********************* WARNING **************************************
*
* Please reboot your system to enable all mail services.
*
**********************************************************************
Here you will get the admin username and password. Store it, we will need it to login into the admin panel
We need to reboot the server to enable all mail services.
4. Install SSL certificate (Certbot)
Now, let's secure the mailing service as well as iRedMail webmail and admin panel. Here we are obtaining SSL certificate from Let's Encrypt using Certbot.
First, install Certbot using following command:
apt install certbot -y
Next, request the certificate using following command:
certbot certonly --webroot -w /var/www/html -d example.com
Note: Replace example.com with your domain name or subdomain name.
Directory /etc/letsencrypt/live/ and /etc/letsencrypt/archive/ are owned by root user and group, with permission 0700 (set by certbot program) by default, it means other users can not access them -- including the daemon users used to run network services like Postfix/Dovecot/OpenLDAP/MariaDB/PostgreSQL. It's necessary to set the permission to 0755 for other applications to access them.
chmod 0755 /etc/letsencrypt/{live,archive}
Finally, let's use Let's Encrypt certificate. Execute following set of commands:
mv /etc/ssl/certs/iRedMail.crt{,.bak}       # Backup. Rename iRedMail.crt to iRedMail.crt.bak
mv /etc/ssl/private/iRedMail.key{,.bak}     # Backup. Rename iRedMail.key to iRedMail.key.bak
ln -s /etc/letsencrypt/live/example.com/fullchain.pem /etc/ssl/certs/iRedMail.crt
ln -s /etc/letsencrypt/live/example.com/privkey.pem /etc/ssl/private/iRedMail.key
Note: Replace example.com with your domain name or subdomain name.
Now restart Postfix / Dovecot / Nginx services to use the cert:
systemctl restart postfix dovecot nginx
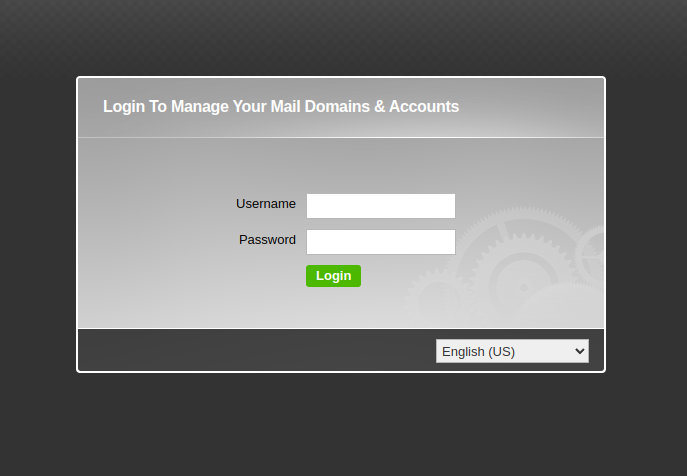
5. Access iRedMail
That's it, now navigate to your browser and access the URLs:
* URLs of installed web applications:
*
* - Roundcube webmail: https://example.com/mail/
* - netdata (monitor): https://example.com/netdata/
*
* - Web admin panel (iRedAdmin): https://example.com/iredadmin/
Note: Replale example.com with your domain name.
That's it, we have successfully seen how to install iRedMail with PostgreSQL Certbot on Ubuntu 22.04 server.