

In this tutorial, we're setting up GitLab Community Edition on Ubuntu 22.04.
GitLab Community Edition is a robust web-based Git repository manager that facilitates collaborative software development. Installing GitLab on Ubuntu provides a powerful platform for managing code repositories, tracking issues, implementing continuous integration, and more.
We will guide you through the process of installing GitLab Community Edition on an Ubuntu server.
Prerequisites:
- An Ubuntu dedicated server with root or sudo privileges.
- Adequate system resources (CPU, RAM, and disk space) for running GitLab.
- Basic familiarity with the Linux command line interface.
Step 1: Update System Packages
Before installing GitLab, it's important to ensure that your system packages are up-to-date. Open a terminal and run the following commands:
sudo apt update
sudo apt upgrade
Step 2: Install Dependencies
GitLab requires certain dependencies to be installed on the server. Execute the following command to install these dependencies:
sudo apt install -y curl openssh-server ca-certificates tzdata
Step 3: Configure Firewall
Add HTTP/HTTPS ports in the firewall and reload the firewall:
sudo ufw allow 80/tcp
sudo ufw allow 443/tcp
sudo ufw reload
Step 4: Install GitLab Repository
Next, add the GitLab package repository to your Ubuntu system. Use the following command to add the repository:
curl https://packages.gitlab.com/install/repositories/gitlab/gitlab-ce/script.deb.sh | sudo bash
Step 5: Install GitLab Community version
Next, install the GitLab package. Make sure you have correctly set up your DNS, and change https://gitlab.example.com to the URL at which you want to access your GitLab instance. The installer will setup and configure GitLab URL and obtain SSL certificate.
sudo EXTERNAL_URL="https://gitlab.example.com" apt-get install gitlab-ce
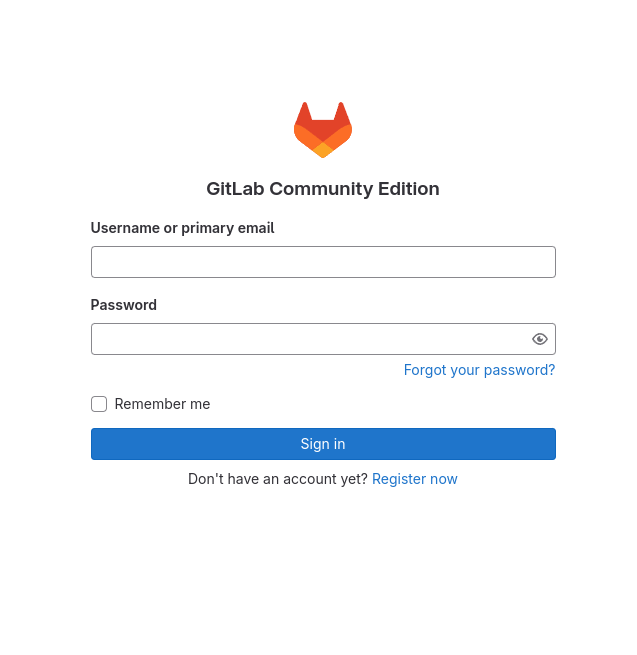
Step 6: Access GitLab Web Interface
Now, you can access the GitLab web interface using a web browser. Simply navigate to the URL you specified in the external_url setting (e.g., https://gitlab.example.com). You will be prompted to set up an admin account.
Notes:
Default admin account has been configured with following details:
Username: root
Password: You didn't opt-in to print initial root password to STDOUT.
Password stored to /etc/gitlab/initial_root_password. This file will be cleaned up in first reconfigure run after 24 hours.
Conclusion:
In this tutorial, you learned how we were setting up GitLab Community Edition on Ubuntu 22.04. for collaborative software development. By following these instructions, you now have a powerful platform for managing code repositories and facilitating teamwork within your development projects.